Your Guide To Removing Gel-X Nails At Home
If you're a regular at the nail salon, you've probably heard of Gel-X nails. Different from both acrylic nails and standard hard gel nails, Gel-X is a type of soft gel nail extension that is super quick and simple for professionals to apply.
Speaking to Makeup.com by L'Oréal, licensed nail technician and development manager of Aprés Nail Eunice Park reveals that they were first conceived in 2017 by Aprés Nail. "... Gel-X allows you to create beautiful and durable extensions easily and quickly," she explains. They're applied with Extend Gel, which is soft, fragrance-free, and may be more appealing to those with sensitivities than the monomer used with acrylic nails. Unlike hard gel nails, which are cured under a UV lamp, Gel-X nails can be removed at home using a simple process that involves soaking in acetone.
While many experts recommend returning to the salon to have your Gel-X nails remove, doing them yourself at home can save you time and money. However, as you'll be working with acetone and a nail file — two tools which can potentially damage the health of your nails if not used correctly — it's important to remove your Gel-X nails slowly, carefully, and according to the advice of the professionals.
Prepare your nails

The first step in removing your Gel-X manicure at home is preparing your nails. Though Gel-X is a soft gel manicure, which means it is primarily removed via acetone, Aprés Nail recommends prepping your nails in advance by filing off the top coat and the gel polish. While you could use a regular nail file for this, it's much quicker and more efficient to use an electric nail file.
L'Oréal explains that you don't necessarily need to remove the entire top coat — this step is just to buff the coat and "disrupt" the layer of gel, which will help the acetone to lift your manicure more quickly.
If your nails are long, you can majorly save on time by cutting them before you even begin filing. A nail clipper tends to be more effective at this step than nail scissors, since a clipper is often stronger and will be more likely to get through the gel. Just be sure that the clipper is not dull, which can cause damage if you cut into your real nail, per Healthline.
How to use an electric nail file safely
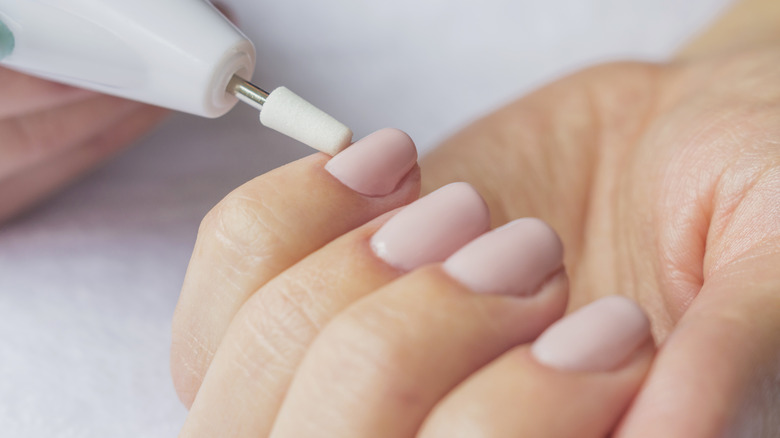
Though using an electric nail file isn't a compulsory part of the removal preparation, it does speed things up. However, using an E-file incorrectly could lead to nail damage, so it's important to know what you're doing. To begin with, ensure you're using the right attachment, as most E-files will come with several (via Gemma Etc.). Refer to the manual to find out which attachment is used for buffing or filing, as these will be more effective than an attachment used for polishing, for example.
Start slowly, and only speed up when you are confident in controlling the file. Keeping both hands still, with the hand you're working on resting on a flat surface, will help you to keep the filing process steady. Use slow movements, working from the outside of the nail inwards, rather than sharp, quick movements.
Electric filing shouldn't be painful, so the second you start to feel any pain, remove the file and return to a lower setting, or return to filing manually.
Remove with acetone
The star of the Gel-X at-home removal show is acetone. As L'Oréal notes, using pure acetone will obviously work more quickly than using blended products, such as nail polish remover with acetone in it. However, acetone is extremely strong and drying on the skin, so ensure that you're using enough for your nails and no more.
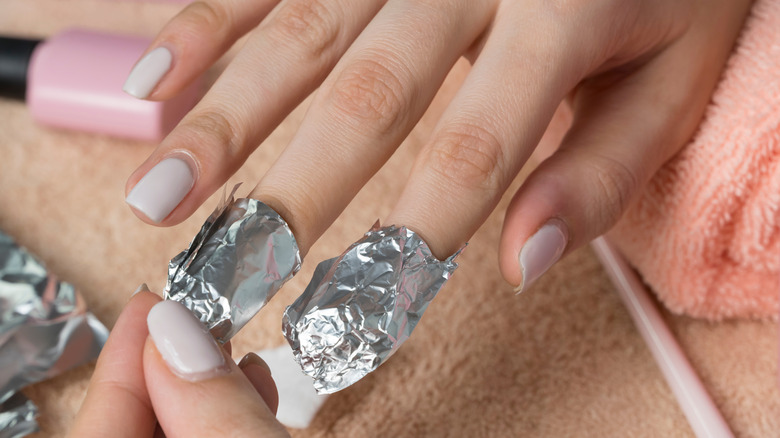
To minimize skin exposure to the acetone, soak ten cotton balls in acetone. Place each one on a nail and hold them in place by individually wrapping them in small, rectangular pieces of foil. It's important to secure them by wrapping the foil around the cotton tightly, but be careful not to do it with too much force or else you'll squeeze out the acetone from the cotton balls and it will drip down your fingers.
Keep the acetone on your nails for 20 minutes. When the time is up, check one nail to see if the gel has lifted off. If it hasn't, leave them for another few minutes. Though it's slower, it's better to do this step one hand at a time, otherwise you might disrupt the acetone working on the nails of one hand when trying to wrap foil around the other hand.
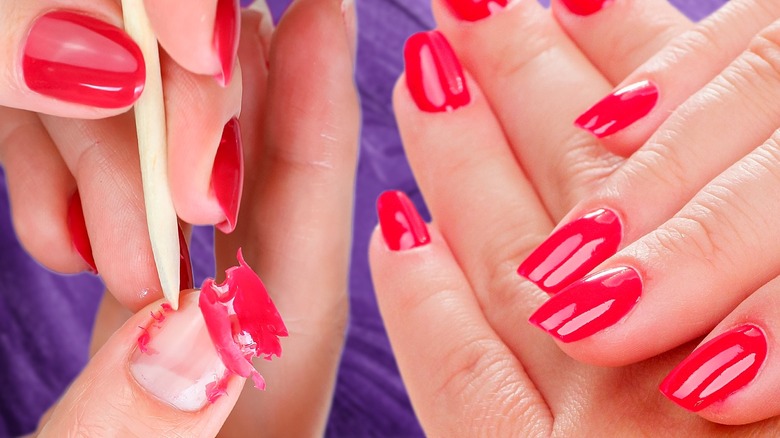
After removing the cotton balls, use a manicure stick to gently scrape off the remaining gel.
Aftercare tips
Though soft gel isn't as harsh on your nails as other products, it's likely that your nails will be feeling pretty rough after you've taken off the gel. That's why aftercare might be the most important step, even if you're planning on getting another Gel-X manicure in the future.
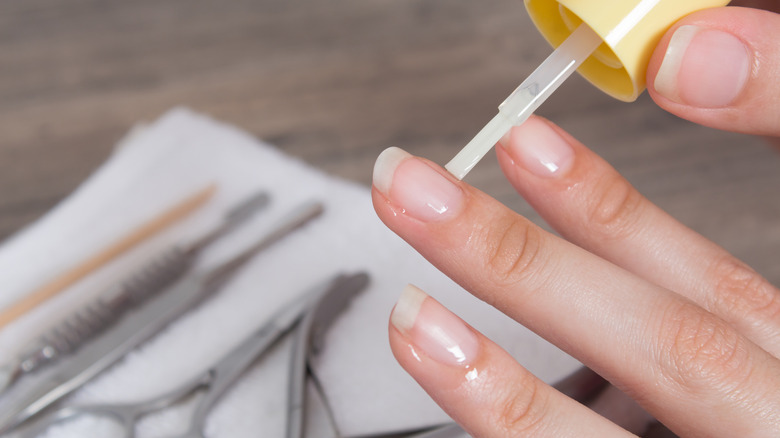
Start by ensuring that all traces of gel are removed — if there's any leftover that the acetone couldn't remove, you can gently buff or file them off. Beauty Garde advises finishing with a repairing polish, which will help to restore your nails back to their former strength. You could also go in with a strengthener or hardener, which is important if your nails look particularly weak or damaged. This is more likely to happen if you've been wearing gel or acrylic nails for a while.
Finally, tend to your cuticles by applying a dab of cuticle oil to each nail. This is particularly vital because the acetone has the potential to leave your nails beds super dry. If any acetone did drip down your fingers, apply some moisturizer or hand cream.
When do they need to be removed?
If Gel-X is your new go-to manicure, you'll probably be removing them more than once. According to Makeup.com, a typical Gel-X manicure lasts from two to four weeks, so at about the month mark, you'll have to set aside time to remove your nails. This time frame may vary according to how quickly your natural nails grow out, and if there is any damage sustained — nails that are chipped and broken will obviously need to be removed more quickly.
Having fresh Gel-X nails applied professionally may be slightly cheaper than having old ones removed and new ones put on, so you can still choose to remove your own nails, even if you'll eventually return to the salon to have them applied again. However, if your nails are healthy following removal, you can also apply them yourself using the official Aprés Gel-X Nail Extension Kit. The kits come with instructions and there are also multiple tutorials online. Costing around $105 at the time of writing, they do require an initial investment, but in the long run, you'll save money doing your nails yourself than making multiple trips to the salon.